Quickstart
This guide will walk you through installing the AgentMail SDK, authenticating with your API key, and creating your first email inbox.
Access the AgentMail Console
First, you’ll need to access the AgentMail Console to manage your account and API keys. Click the link below to get started.
If you don’t have an account yet, you can sign up directly from the console. Once you’re logged in, you’ll be able to manage your inboxes, view analytics, and create API keys.
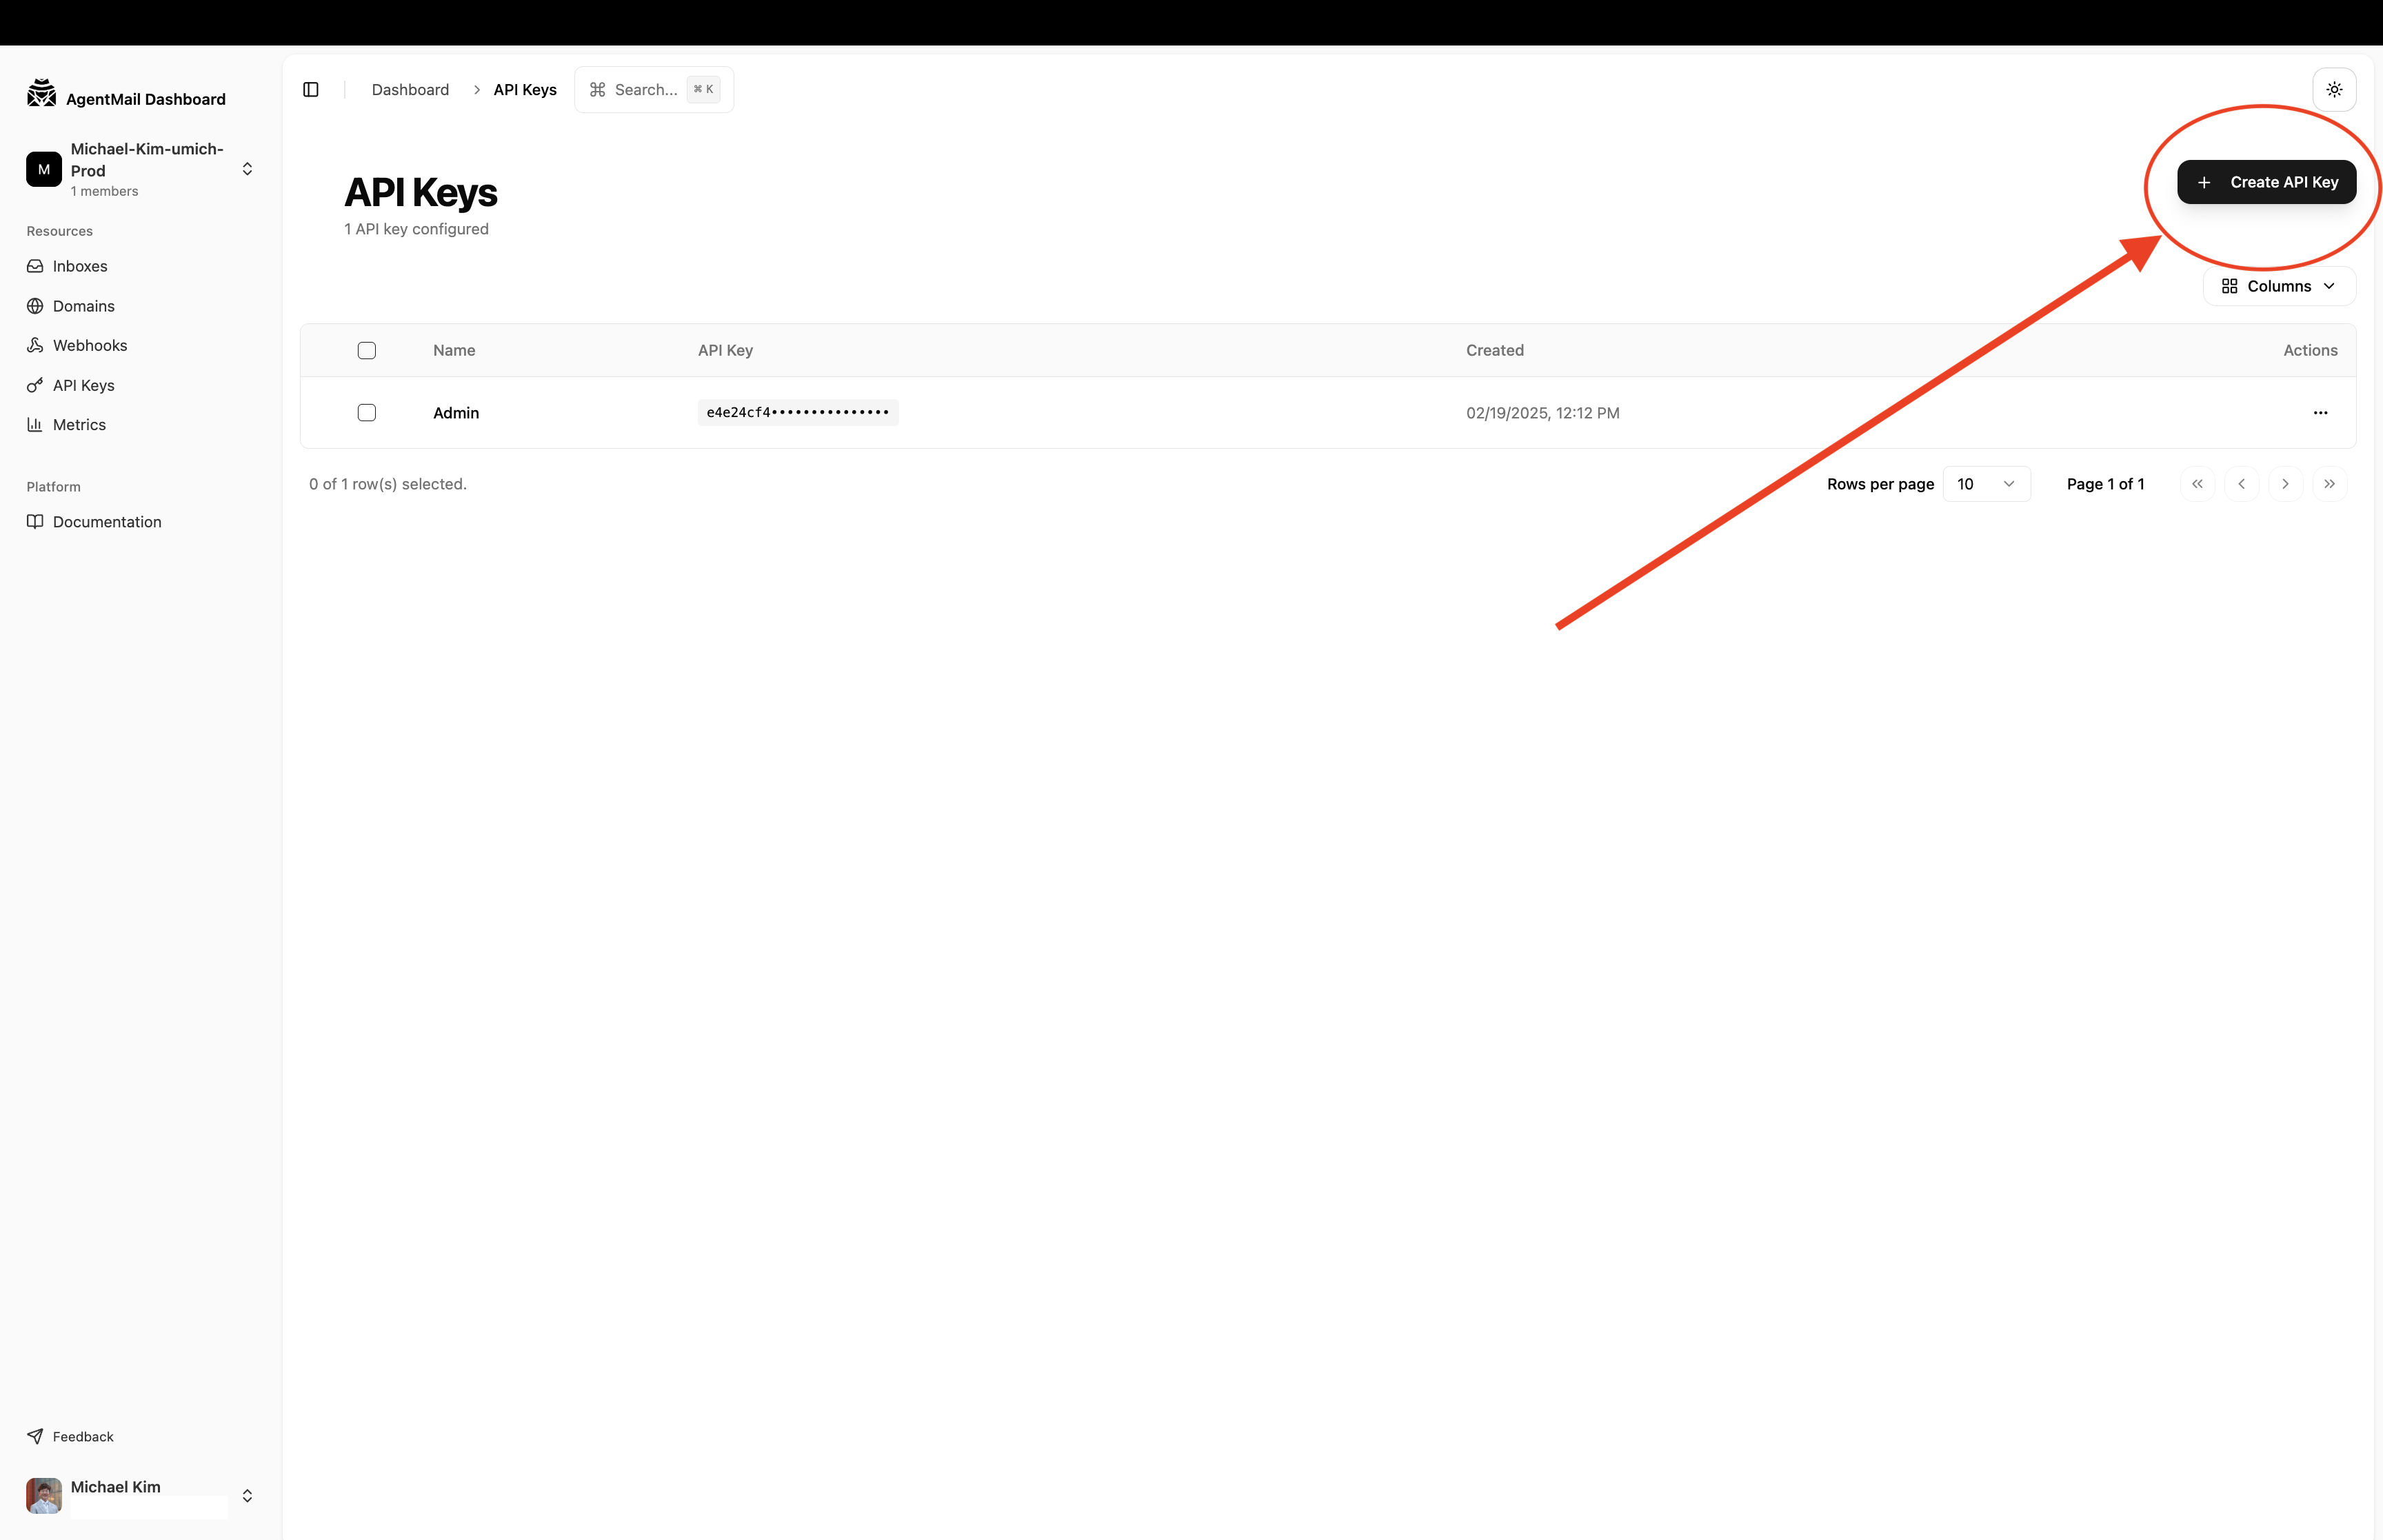
Create an API Key
Now that you’re in the console, you’ll need to create an API key to
authenticate your requests. Navigate to the API Keys section in your console
dashboard.  Click
“Create New API Key” and give it a descriptive name. Once created, copy the
API key and store it securely. Create a
 .env file in your project’s root
directory and add your key to it. We recommend using environment variables to
keep your keys secure.
Install the SDK
Install the AgentMail SDK using your preferred package manager. We’ll also
use a library to load the environment variable from the .env file.
Create an inbox and send an email
Now you’re ready to make your first API call. Create a new file (e.g.,
quickstart.py or quickstart.ts) and add the following code. This script
will initialize the AgentMail client, create a new inbox, and then send a
test email.
The domain parameter is optional. If not provided, AgentMail will
use the default @agentmail.to domain. If you would like a custom domain, please upgrade to a paid plan.
Next Steps
Congrats, you sent your first email via AgentMail. But this isn’t our strength. Explore the full power of creating agents that can autonomously reply, take action, parse attachments, semantically search your inbox, by exploring our docs and tutorials below.
Looking for a different language? Email us at support@agentmail.cc and we’ll get you set up.
